

It’s no secret that we love WordPress. This wonderful CMS is used by over 40% of all online sites according to w3techs.com. For instance, with managed WordPress hosting, you can efficiently create and send email newsletters. Plus, don’t forget to buy a domain name to establish your online presence.
To provide the best practice for your email distribution, I found the top newsletter plugin available for WordPress. I only have three words to describe it: free, unlimited, and automated. I knew you would be interested! We even found a local 613 Squadron Air Cadet site that uses this extension.
Give me 5 minutes of your time and you will have a newsletter worth sending! I’ll show you how to install, configure and send your first newsletter without any hassle.
Before going any further, if you don’t have a site with WordPress, take a look at our managed WordPress hosting.
How to Install the WordPress Newsletter Plugin
With WordPress, installing a plugin is as easy as pie! You must first
- Log into your site administration.
- Then go to the “Extensions” section in the left side menu.
- Click “Add”.
- In the search bar, type “Newsletter”.
You should easily find the following plugin:
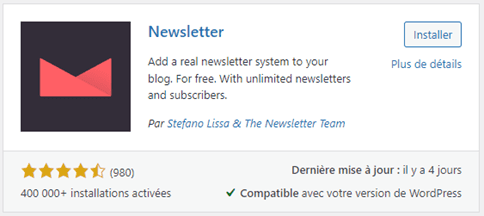
Click the “Install” button to the right of the plugin followed by the “Activate” button. You should now see the Newsletter in the left side menu.
The setup wizard should automatically open when opening the plugin for the first time. Let’s take this opportunity and follow the steps together!
Initial Newsletter Plugin Configuration
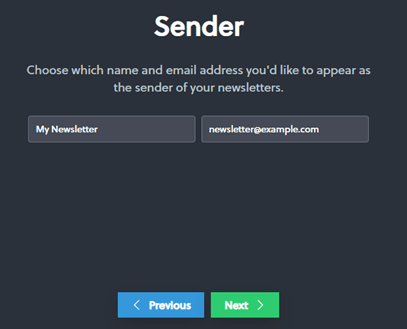
The first thing we need to determine is the name and email address that will be shown to your subscribers when they receive the newsletter.
At the following step, we must establish which information is needed for the newsletter subscription.
- Do we need to retrieve the subscriber’s name?
- Add a privacy option?
- What should we write on the subscription button?

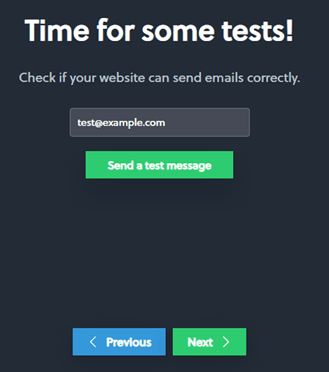
This will activate the subscription page for your newsletter. Now you can send a test email and make sure the setup is working as expected.
And that’s that!
Our registration form is created and can be used anywhere on the website.
Register the Company Information
To have a newsletter that reflects your website image, I highly recommend setting up the following information.
- In the “Settings -> Company Info” section, add your logo.
- Under “Title”, you can write the site’s name.
- The “Motto” can be your slogan.
The following information like the company name, address and legal text may be interesting to fill out. Of course, this is optional.
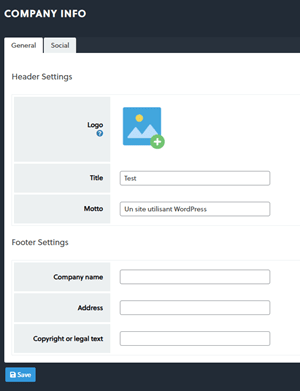
Once everything is inscribed, click on “Save”.
Preparing the Subscriber List
With a basic setup completed and company information entered, it’s time to prepare the subscriber’s list. In the “List Building -> Lists section”, we can create up to 40 mailing lists to organize or divide our subscribers.

I suggest starting by creating a single default list for our primary subscribers. We can put it in “Public” profile type to allow users to manage their own subscription. I also select “Enforced” so that all the registrations will be added to this list. Finally, we click on “Save” at the top left to save the new list.

Importing your subscribers
If you already have subscribers, don’t worry! You can easily import them in the list we just created. First, make your way to “Newsletter > Addons” section to download the “Addons Manager”.
Click on “Download Addons Manager” to download the plugin extension and on “Install”.

Next, select the plugin extension you’ve just downloaded in your computer and click once more on “Install”.

Once the plugin extension is now activated and you will be able to access the “Addons manager”. This is necessary to install the “Advanced Import” tool. This free tool will permit you to import your existing subscribers list into the WordPress plugin.
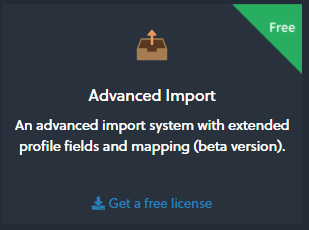
By clicking on the “Get a free license” link, you will be redirected to the top of the page. Simply enter your email address and click on “Create account” to access to import tools.

Once done, go back to the extension and click on “Install Now“. The “Advanced Import” tool should now appear in the menu. This tool offers two ways of importing your existing list, with a CVS file (Excel) or with copy and paste command. Several options will open after the addition of email addresses. We will need a tweak few options:
- “Import Subscribers As” must be placed to “Confirmed” in the settings.
- Assign the email address in the “Email” section of the subscriber field.
- Select the subscriber list we created a little earlier.
If everything went well, your subscribers should all appear in the “Subscribers” section.
Sending your First Newsletter
Now that everything is properly set up, it’s time to create and send a newsletter.
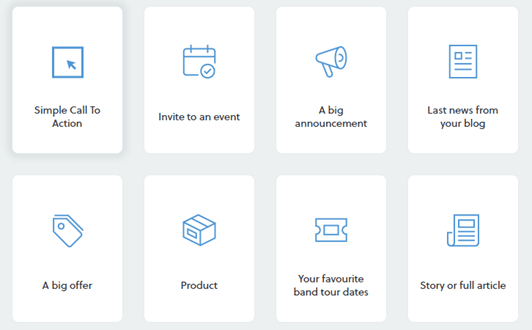
In the “Newsletters -> Create Newsletter” section, select the ideal template for your letter. When in doubt, I choose “Simple Call To Action”.
A click and drag editor will appear. You can add, remove, and modify your newsletter to your liking. You can also test the format by sending a test by email or by clicking on the cellphone/computer buttons.

Once you are done, click on “Next” on the bottom right. The sending options will need to be configured.
Scheduling the Newsletter
Enter the subject of the Newsletter in the “Subject” bar. For example, “Christmas Sale”. Then, select the subscriber list to whom you want to send from the “Lists” section.
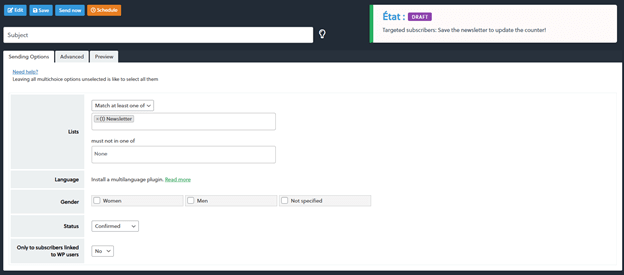
You can select “Send Now” to send the newsletter immediately or “Schedule” and specific a time and a date for the delivery.
And that will do the trick!
By default, the plugin will send 100 emails per hour. Be sure to follow the policy of your hosting provider. If needed, it is possible to modify this number under “Settings -> General Settings -> Delivery Speed”.
Accumulate and Send
The last step is to prepare your newsletters and schedule their delivery in advance. Prepare some newsletter when things are slow and send them during your busiest moments.
When time will permit, take advantage of the other options provided in the Newsletter plugin by checking their documentation.
Using WordPress for your newsletters can simplify the process and provide a more professional touch. For a seamless experience, consider managed WordPress hosting and make sure to buy a domain name to boost your site’s credibility.
Leave a Reply